


I love small intimate parties. Whether they are sit down dinners or small get togethers, there is something quaint and so nostalgic about having a small group gather together in laughter and conversation. Last weekend I had the pleasure of hosting my first pumpkin decorating party at our house in North Austin, TX. The mama’s stopped by with their adorable kidlets. We ate massive amounts of sweets, had the kids chalkboard paint their pumpkins and played pandora halloween music on a that cool and fresh evening. Such a blast! Before I get started I just want to point out that this isn’t going to be a post about the actual party but more so about all the little DIY projects I have been working on, that seemed to have married themselves into this event. Due to my recent instagram posts, I have been asked to do tutorials and while I can’t take credit for any of them, I am happy to share my experience and links to some of the sources as I rightfully claimed that I am slightly un-crafty when it comes to making anything handmade. I’ve dabble quite a bit with DIY before, when I made our very first upholstered headboard and it wasn’t quite rocket science which is why I don’t mind giving these types of projects a try. So the way it all began was when we started planning to get a patio table for our new backyard. We decided that with just moving and work not being like it used to for me, we would have to be really really careful with spending. I remembered a post I saved from a while back on how to build your own table using limited “building” knowledge, few supplies and fairly easy instructions. Next thing you know, I was running to home depot to buy supplies. Mr MHP had little faith that the outcome would turn out the way it did, but once it was done we he was so excited with the results.  This was the original post about the tables I had saved, but it did not include instructions. I was so scared to cut the wrong sizes etc.. so I searched google like a pirate looking for buried treasure and found this… BINGO!! Turns out this blogger was on the same bandwagon I was one. This project took me about 5 hours total between staining, sanding (by hand) and nailing the boards. I stained and waxed over night and in the morning put the boards together and started drilling away. Unlike before in Jacksonville, where we had to drive 2.5 hours to our local ikea. Now we only had a 10 minute drive up the street to grab the trestle legs for the table which I had purchased the day before.
  With this particular table project, if you have an electric sander you will be golden. I on the other hand got more of a workout than I wanted. To finish off we were trying to figure out what chairs we wanted to get with them. We knew that we wanted an industrial style chair look. We immediately loved the Pottery Barn Tolix chairs, and the wire Bertioa “style” chairs, but again the price tag was haunting us so we decided to play it safe and go for cost friendly ones that everyone raves about just like in the inspiration photo. We did see this option an option at Target before ordering ours through Overstock, but after having the little guy sit in the chair they seemed way to small. The Overstock ones were better in person than in the photo. Super meaty, great height and amazingly sleek. This whole project cost me roughly $75 for the wood and $20 for the legs without the chairs.
  Another DIY project I did was the bar cart. With having the office upstairs that me and the Mr both share for work and school purposes we wanted the option of being able to have snacks and beverages at hand without having to trek downstairs each time we were thirsty or hungry. Some more digging on facebook I came across a few different bar cart hacks. The cheapest and best one I found was from a blog called Blush and Jelly and because Ikea and a bottle of gold spray paint were not too far away I put this little masterpiece together in 1-2-3. This project cost me $30 for just the cart, I already owned the gold spray.
  Lastly was the cake stand which was intended for my daughters 10th birthday bash next week. Because I was already planning for a delicious donut bar for our halloween party, I decided to get an early start and use it then. I spray painted a terra cotta plant container and drip tray from home depot in white and let it dry overnight. Sealed it, then hot glued the plate part upside down to the pot. Because food was going to be on it I made sure they dried thoroughly and added a thick liner before placing any food on top. The whole project including the spray cost me $10

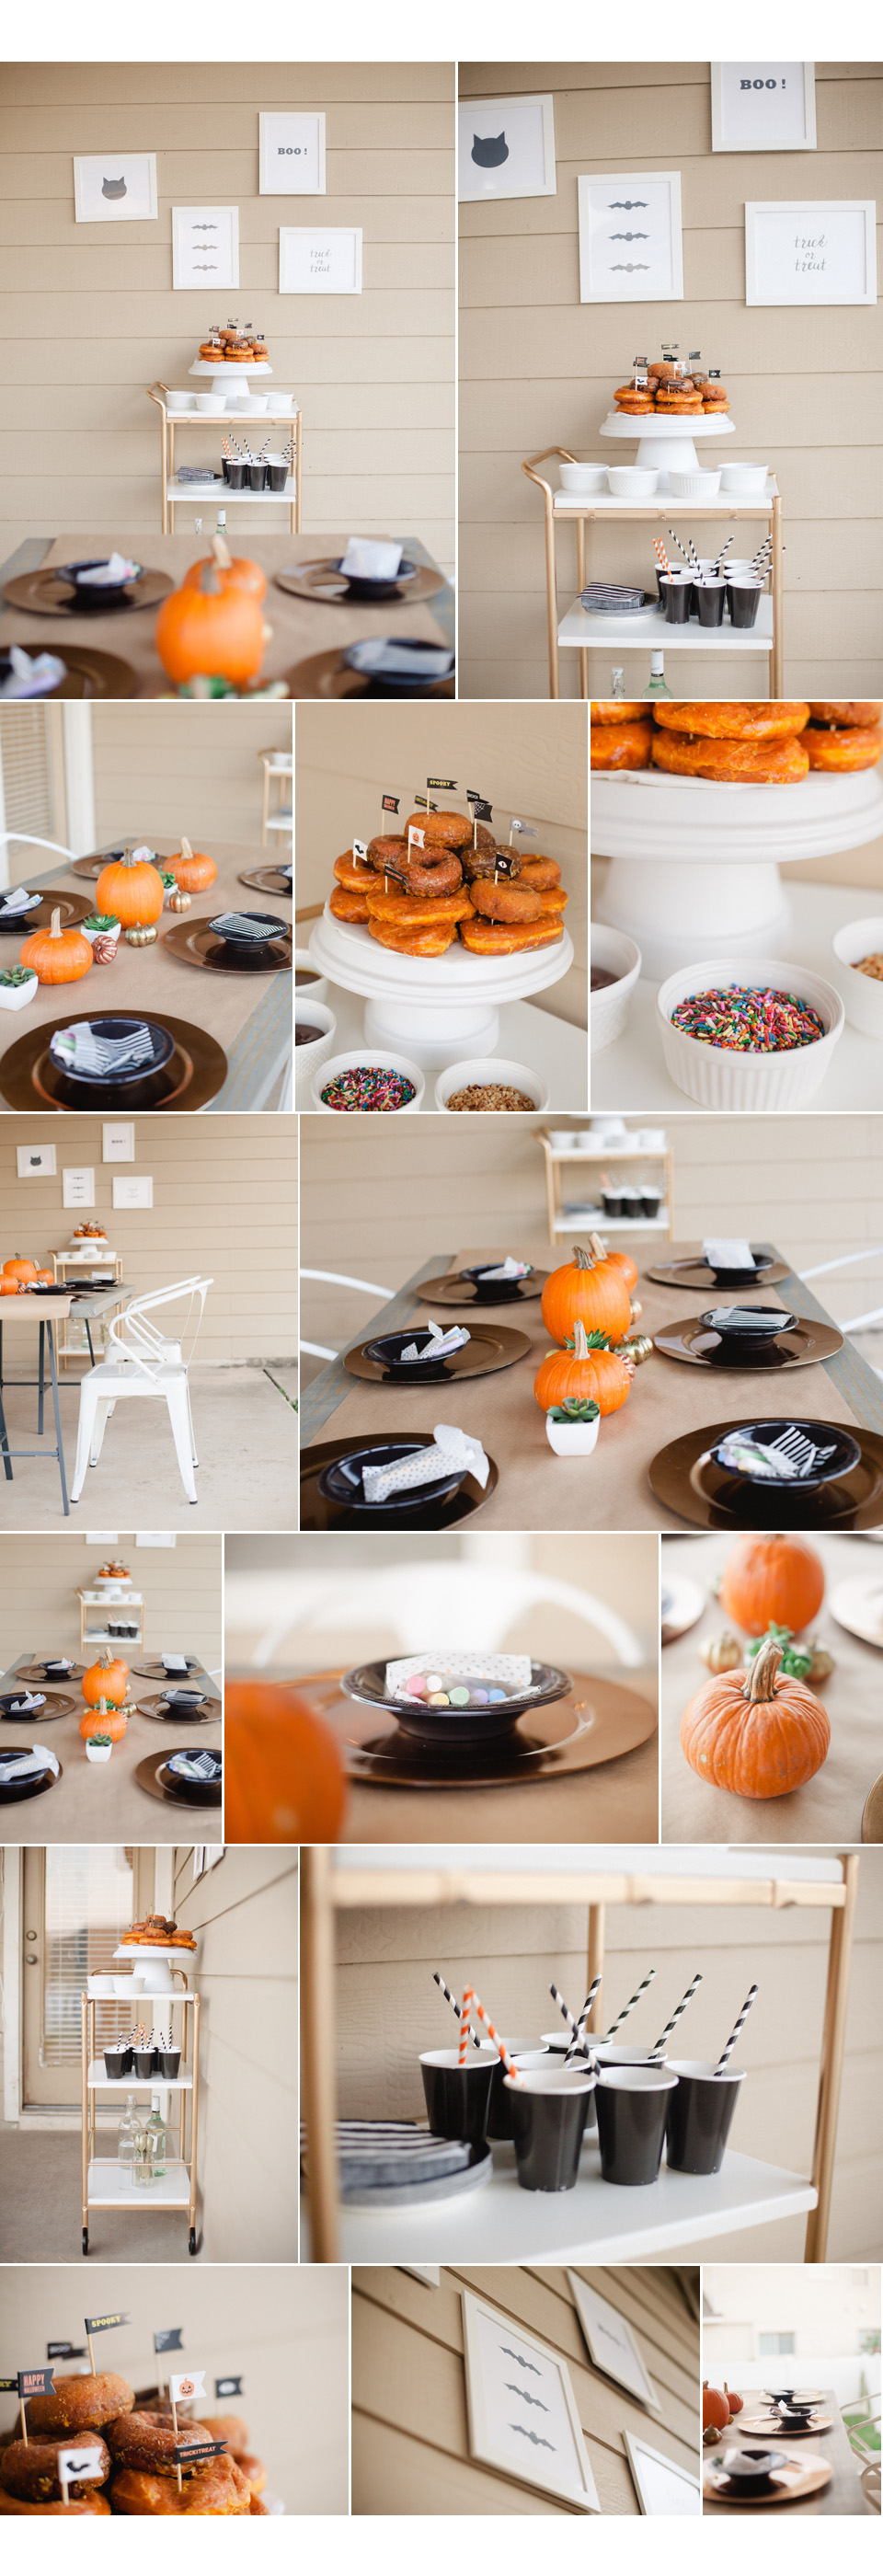
So without further ado this is how everything turned out together!
